

I spent eleven years producing an overnight radio show, which meant my bedroom day started at 9am instead of when everyone else's ended. My bedroom faces west on the second floor, so by early afternoon the sun was coming straight through the blinds while daytime traffic rolled past on the street below, delivery trucks, school pickup, the usual noise nobody thinks about because they're at work when it happens. Falling asleep in broad daylight with a truck idling outside is a different problem than falling asleep at midnight in a dark, quiet house, and for years I tried to solve it with blackout curtains and white noise apps alone. Neither one touched the actual issue, which was that my body never felt settled enough to let go, no matter how dark or quiet I made the room.
The thing that changed my time-to-sleep, how long it actually takes from lights out to unconscious, was a 15 lb YnM weighted blanket with glass bead fill. But I want to be upfront: buying one and tossing it on the bed the same way you'd toss on a regular comforter is exactly why so many people try a weighted blanket for a week and quietly stop using it. I did that too, the first time. It sat folded in my closet for almost a month before I went back and actually figured out what I'd done wrong. There's a right way to introduce one, a right way to drape it, and a few environmental details that matter more with a weighted blanket than without one. Here's the five-step process that actually worked for me, in the order I'd do it if I were starting over today.
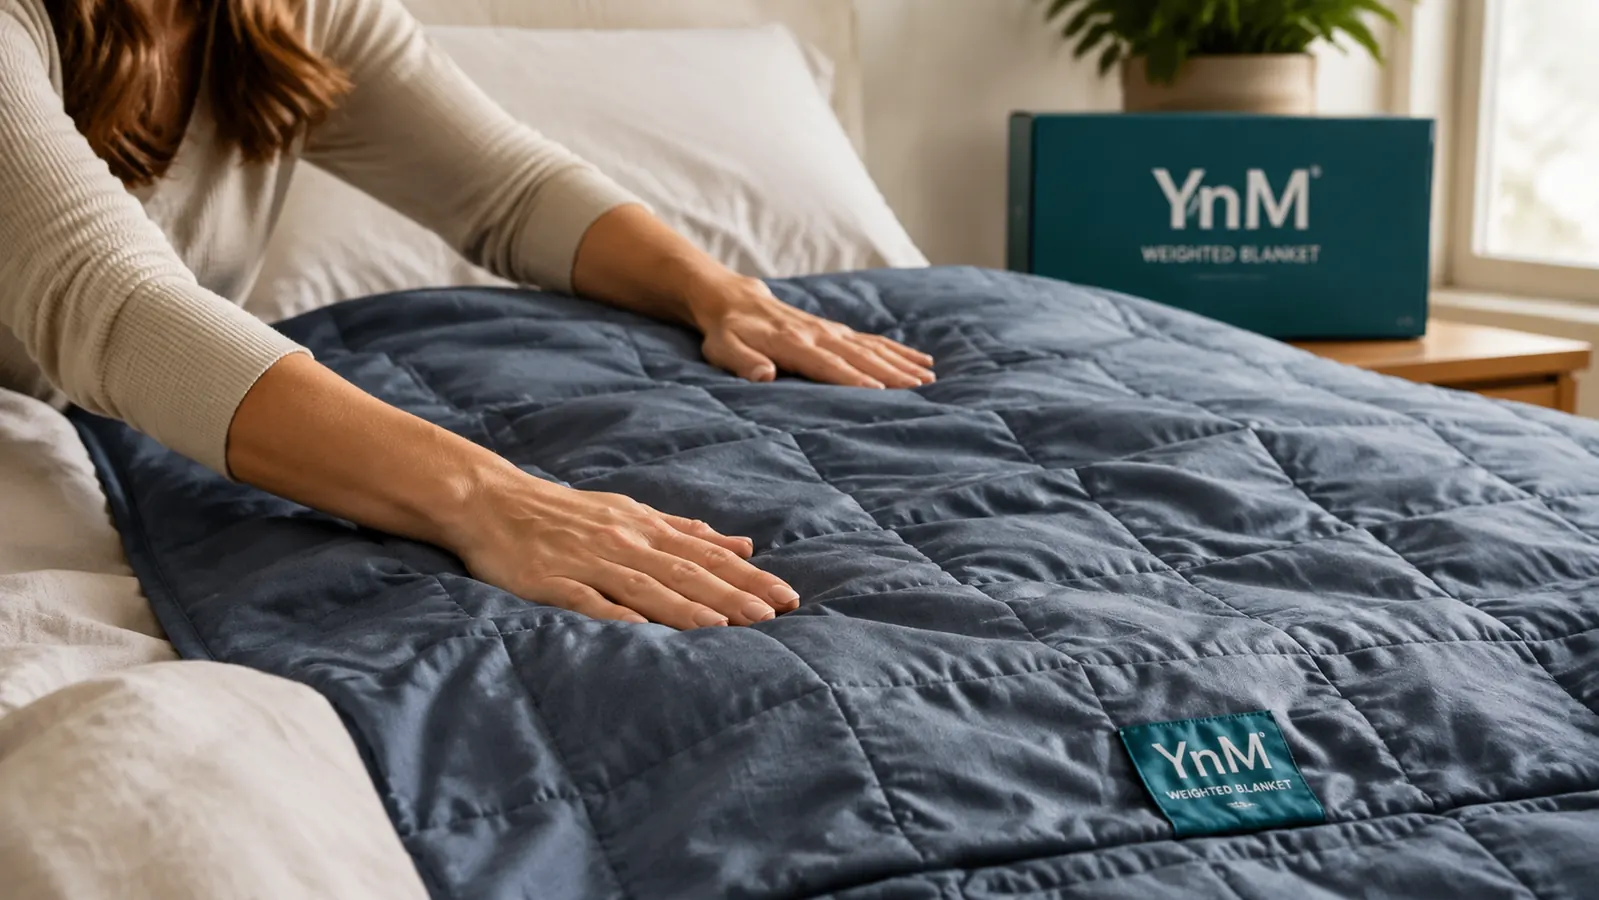
The blanket I'm describing in every step below
Everything in this guide assumes you're starting with a blanket that's actually weighted correctly and distributes evenly, which is not a given at every price point. This is the one I use.
Amazon Check Today's Price on Amazon →Step 1: Calculate the Right Weight Before You Buy or Use One
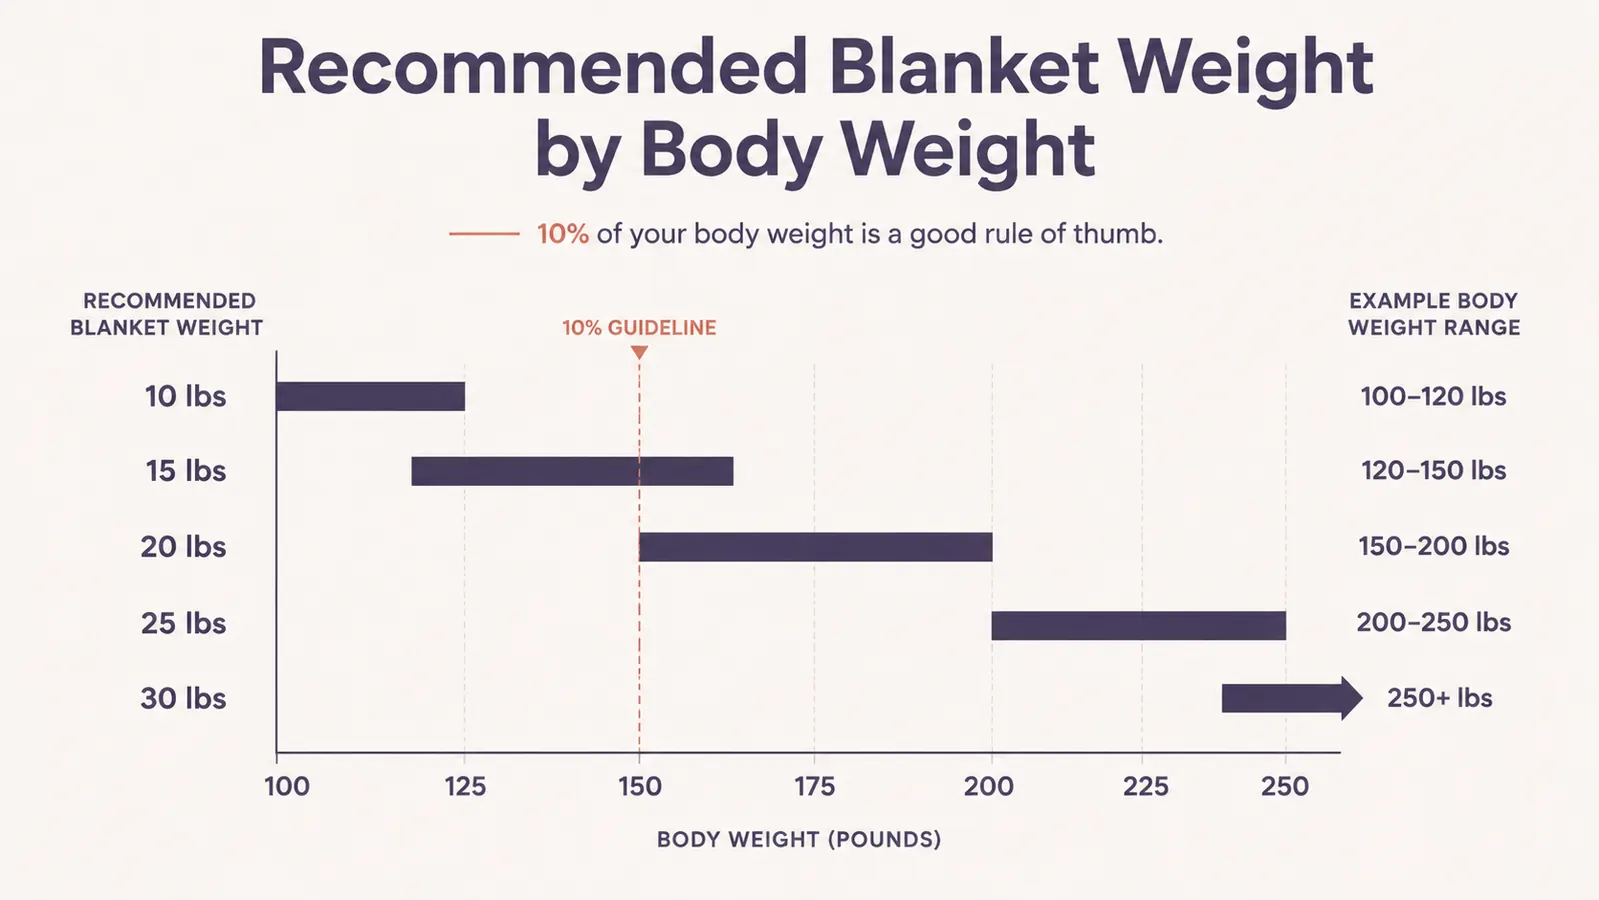
The most common mistake I made, and the one I see recommended incorrectly all over the internet, is guessing at weight based on how heavy a blanket feels in a store rather than calculating it against actual body weight. The standard guideline occupational therapists use is roughly 10 percent of body weight, plus or minus a pound or two depending on tolerance. I weigh about 148 lbs, so a 15 lb blanket sits right at that 10 percent mark. If you're closer to 120 lbs, a 15 lb blanket is going to feel like being pinned rather than held, and if you're over 200 lbs, that same blanket won't register as much more than a slightly heavier comforter.
YnM sells this exact blanket in multiple weights for this reason, and the sizing chart on the product page maps weight ranges to blanket weight directly. I'd rather someone spend two extra minutes doing that math before buying than buy the popular weight everyone else bought and wonder why it doesn't do anything for them. Couples sharing a bed have their own version of this problem too, since one partner's ideal weight is rarely the other's, and a blanket sized for one sleeper split across two bodies effectively cuts the pressure per person in half.
If you're between two weights on the chart, I'd size down rather than up for a first blanket. It's much easier to adjust to slightly less pressure and build tolerance than it is to force yourself back under something that felt smothering on night one and never touch it again.
Material matters here too, separate from the weight itself. This blanket uses a cotton outer with glass bead fill rather than plastic poly pellets, which keeps it from feeling like a bag of gravel and helps it breathe a little better against skin, something I didn't appreciate until I compared it to a cheaper blanket a friend had bought. If you run warm at night already, that breathability is worth weighing alongside the actual pound count.
Step 2: Introduce It Gradually, Especially If You Sleep on an Odd Schedule
Because I slept days for over a decade, my nervous system was already fighting an uphill battle every time I got into bed while the sun was up. Adding 15 lbs of unfamiliar pressure on night one made it worse before it made it better. I felt a little claustrophobic the first two nights, which is common and is usually a sign you introduced it too fast, not a sign the blanket is wrong for you.
What worked was starting with 20 or 30 minutes of daytime use before my actual sleep block, on the couch, reading, with the blanket over my legs only. Then I moved to using it for a full sleep period but keeping my arms uncovered for the first week. By the second week I was under it fully, shoulders included, and that's when I started noticing I was actually falling asleep faster instead of just lying there aware of the weight.
I'd budget a full two weeks for this adjustment period before deciding whether a weighted blanket works for you. Giving up after two or three nights is the single most common reason people write off weighted blankets entirely, and it's rarely a fair test.
I also want to flag a distinction that tripped me up early on: a 20-minute nap under the blanket and a full sleep period under it are not the same test. Naps taught me the weight felt fine. It wasn't until I tried a full seven or eight hour stretch that I found out how it felt to roll over, get warm, and adjust position underneath that much weight, which is really what determines whether it works long term.
Step 3: Get the Drape Right, Not Just the Weight
A weighted blanket only works if the weight is distributed evenly across your body. If it bunches at the foot of the bed or slides to one side overnight, you end up with uneven pressure that either does nothing or actively wakes you up when it shifts. I learned to smooth the YnM blanket down flat before getting under it, tucking the sides in slightly along my hips rather than letting it hang loose, so the pressure sits evenly from shoulders to feet instead of pooling in one spot.
I also stopped using a top sheet between me and the blanket. It sounds minor, but a sheet layer let the blanket slide during the night, especially since I toss more when I'm trying to force sleep during daylight hours. Blanket directly on top of me, comforter underneath if I need extra warmth, is the combination that stays put.
The glass bead fill in this particular blanket helps here too, since beads settle and redistribute more evenly than the cheaper plastic pellet fill some competitors use, which tends to clump toward the lowest point of the blanket by the third or fourth wash.
Washing matters too. I wash mine roughly once a month, on cold, in a machine large enough to actually let it tumble instead of sitting in a wad, then line dry it instead of using high heat. A blanket that's been balled up in an undersized washer and dried on high starts to clump exactly the way I described above, and that clumping is what people mistake for a manufacturing defect when it's really a laundry habit.
Step 4: Control the Room Around the Blanket
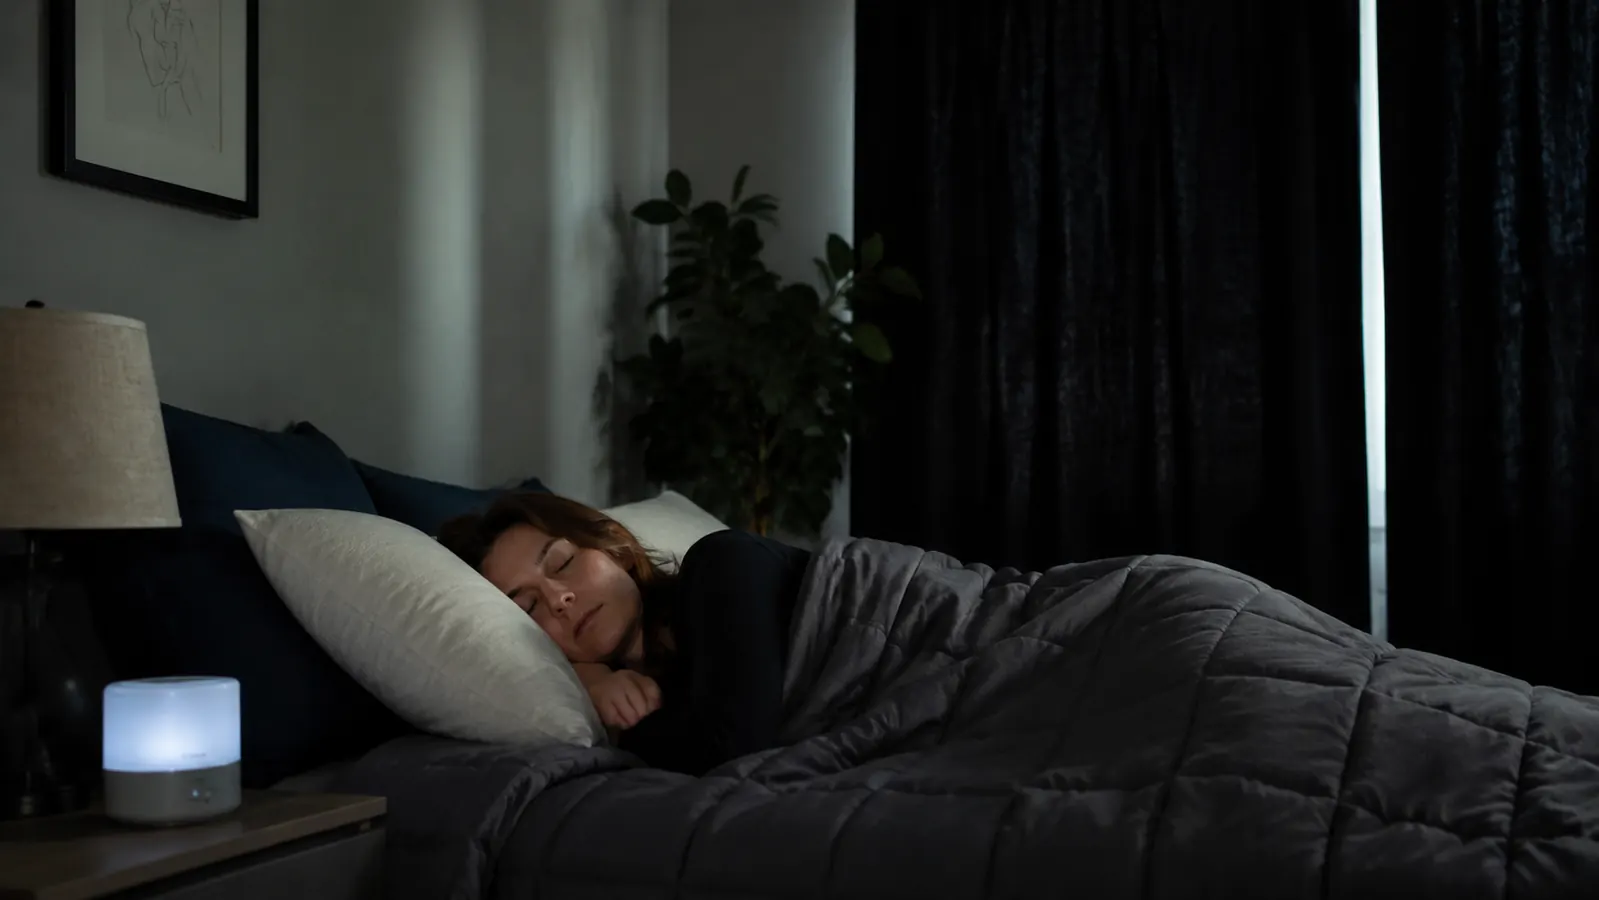
A weighted blanket does one job well, it applies deep pressure that can lower a racing heart rate and quiet a busy nervous system. It doesn't block sunlight and it doesn't block traffic noise, and if your room has both, like mine does, the blanket is fighting an environment that's actively working against it. Once I added real blackout curtains, not just blinds, and ran a small white noise machine on the nightstand to cover the daytime street sounds, the blanket's effect became noticeably stronger. The pressure calms the body, and the dark and the noise masking remove the two things that were re-alerting my brain every time a truck passed or the sun shifted through the blinds.
This is the part people skip because it feels unrelated to the blanket itself, but in my experience it's not optional if you're sleeping against a bright window or a noisy street. The blanket and the room have to be working in the same direction, or the room will keep winning.
Temperature is the other environmental factor people underestimate. Fifteen extra pounds of fabric traps body heat, and sleeping through an afternoon when the sun is already warming the room through that west-facing window made the combination worse before I adjusted. The cooling glass beads in this particular blanket vent heat better than the solid poly pellets in cheaper versions, but I still keep my bedroom a few degrees cooler than I would without the blanket, and I'd recommend the same to anyone who already runs warm at night.
Step 5: Build a Short, Repeatable Wind-Down Routine Around It
The last piece was consistency. I started doing the same 10 minutes before getting under the blanket every time: curtains closed, phone on the dresser instead of the nightstand, white noise machine on, blanket smoothed flat. Doing the same small sequence every time trained my body to treat getting under that specific blanket as the signal that sleep was starting, the same way a lot of people use a specific pillow or a specific side of the bed.
Within about three weeks of doing steps 1 through 5 consistently, my average time to fall asleep dropped from something I'd estimate at 35 to 45 minutes down to somewhere around 15. That number matters less than the pattern behind it: the routine, not any single night, is what did the work.
I kept a rough note on my phone for those first three weeks, just a guess at what time I actually fell asleep each night. I wasn't trying to be scientific about it, but having even a loose record made it obvious the trend was real and not just a good week, which is what kept me sticking with the routine on the nights it didn't feel like it was working.
The blanket didn't fix my schedule. It gave my body a consistent, physical signal that said it's time, even when the sun said otherwise.
What Else Helps
The weighted blanket did the most work, but it wasn't the only piece. A well-fitted eye mask mattered more than I expected once I actually committed to sleeping through daylight, since even good blackout curtains leak a little light around the edges. If anxiety rather than just an odd schedule is part of why you're lying awake, the deep pressure effect that makes this work is worth understanding on its own, and I've written more about that specific mechanism in this piece on how weighted blankets help with anxiety. And if you want the fuller picture of how this exact blanket held up after months of nightly use, cons included, I laid all of that out in my honest review of the YnM weighted blanket.
Temperature control in general is worth a second look if you're layering a weighted blanket onto an already-warm room, and the same goes for a pillow that holds heat against your face all day. None of these are replacements for the blanket itself, they're the supporting details that let the blanket actually do its job instead of fighting your environment.
None of these steps require anything expensive or complicated. The blanket, the drape, the room, and the routine are all things you can adjust this week without buying anything new except the blanket itself, and even that doesn't need to be complicated once you know which weight to look for.
Start with the blanket, then build the routine around it
Everything above assumes the 15 lb YnM with glass bead fill as the baseline. If you're ready to try the five-step process yourself, this is where I started.
Amazon Check Today's Price on Amazon →